Tuesday, November 13, 2012
Beanie
I cannot stop making hats aka slouchy beanies and giving them to people. I will post the EASIEST way to make a hat for anyone to do. My 9 year old cousin can make them so everyone stay posted to make the coolest hats ever. I made two for my boyfriend and cannot stop. Stay posted lovaaas<3
Wednesday, August 29, 2012
Beautiful Wall Art
My roommate Libby made this and I love it! It is classy, cute, and chic all at once. You can make it as big as you want covering as much wall as you want. Libby chose to do white ones (flowers) but I guess you can use any color you want.
Supplies:
*Doilies
* Cupcake holders
*Buttons
*Scissors
*Tape and glue
~~~~~~~~~~~~~~~~~~~~~~~~~~~~~
Here are the doilies she used, now you dont put a doilie behind every cupcake holder but you pick and choose. Usually you would have a starting point on the wall, lets say the far left, and put doilies behind all the cupcake holders. Then as you start to put more flowers across the wall going to the right, you scarcly choose which doilies to put behind the cupcake holders (as if it's fading away).

I do not have a picture of the plain cupcake holders but here is what they look like close up finished. You need to take your scissors and cut little petal like designs on the outside edge of the holders.

Here is what one looks like close up with the doilie behind it. Notice how each flower has a button glued in the center

Here is the finished wall!

Thanks Libby!
Headboard in ACTION!
YAY so finally I have moved in and set up the headboard (my first blog post ever on huuuur)! It is great and so easy to make! I just put as much regular tape as possible on the back and taped it up! Hope you like and get inspired to make more things!

My picture frames
There is another post that consisted of the matte picture frames with post secrets in them but I used them again this year so here is a picture of what it looks like!
YAY!
MORE...CAT....PRINT
Okay so I just cannot use up this half a yard of cat print fabric so I have another cute wall decor piece. You can use any kind of fabric and it looks cute when you make alot of different colored fabric ones and put them all up on your walls.
Supplies:
*Fabric
*Embroidery frame
*Scissors
*Possibly paper clip and tape
~~~~~~~~~~~~~~~~~~~~~~~~~~~~~~~~~~~~~~~~~~~~~
First get your supplies (I have three embroidery frames in this picture but only used one)

Cut the fabirc and attach it in the circle and baddabing baddaboom here is a cute wall decor


This is my design but I saw the idea online from these pictures online


NOW here is the part that deals with the paperclip!
If you are living in a dorm or an apartment where you cannot put a hole in your wall, get a paper clip and bend it upwards


And now use tape and tape it to the wall so it is sturdy! Then you can hang anything from the little hook if it is taped securely
Friday, August 10, 2012
DIY Chain Earring
So I really have enjoyed those chain looking earrings, but could never find one that I liked for the piercings that I had. I decided to make my own earrings chained together!
Supplies:
*2 earrings
*A chain necklace you do not want anymore
*Possibly tweezers or pliers
HINT: find earrings that are able to fit into a chain link of a necklace.
~~~~~~~~~~~~
First, take your necklace you do not want anymore, and basically break it! You can use pliers or tweezers to get a small chain but I was just able to pull apart what chain length I wanted.

Then, put both earrings in the chain links at the end of the chain. If you use a mirror it is easier but put the earrings in your ears, you can adjust the chain length to however you like it.

I like the chain in my second hole and the upper third cartilage one. I should have put an earring in my first hole but I forgot but YAY! Cute and cheap!

Saturday, August 4, 2012
DIY Braided Hex Nut Bracelet
Awesome bracelet! Check out this from someone's blog I was browsing!!!
this old dress.: DIY Braided Hex Nut Bracelet:
this old dress.: DIY Braided Hex Nut Bracelet:
Knotted Scarf
So this scarf is a little more extensive then the last one, but it can turn out really cute. You need to cut the shirt just like the last one (a rectangle shape). Now the more material you have, the longer the scarf should be. Mine is a little short since I had a small shirt to work with but the length is cute and still doable. This is my first one I have ever made so it is not perfect by all means.
First cut strips long ways on the shirt to make big circles of the material. I did not keep a consistent width of the fabric I was cutting since I like to do things quickly for the first time. The more strips you have, the longer the scarf will be.

Once you have them, take one of the circular strips of material, and wrap it around four times. I did not do enough wraps, so depending on how long yours are, you may want to tweak the scarf after you put it together.

Next, take the next strip and wrap it half of the amount of the first one (again I went back and wrapped them more times. Follow the pictures below because it shows what to do better than what I can explain:

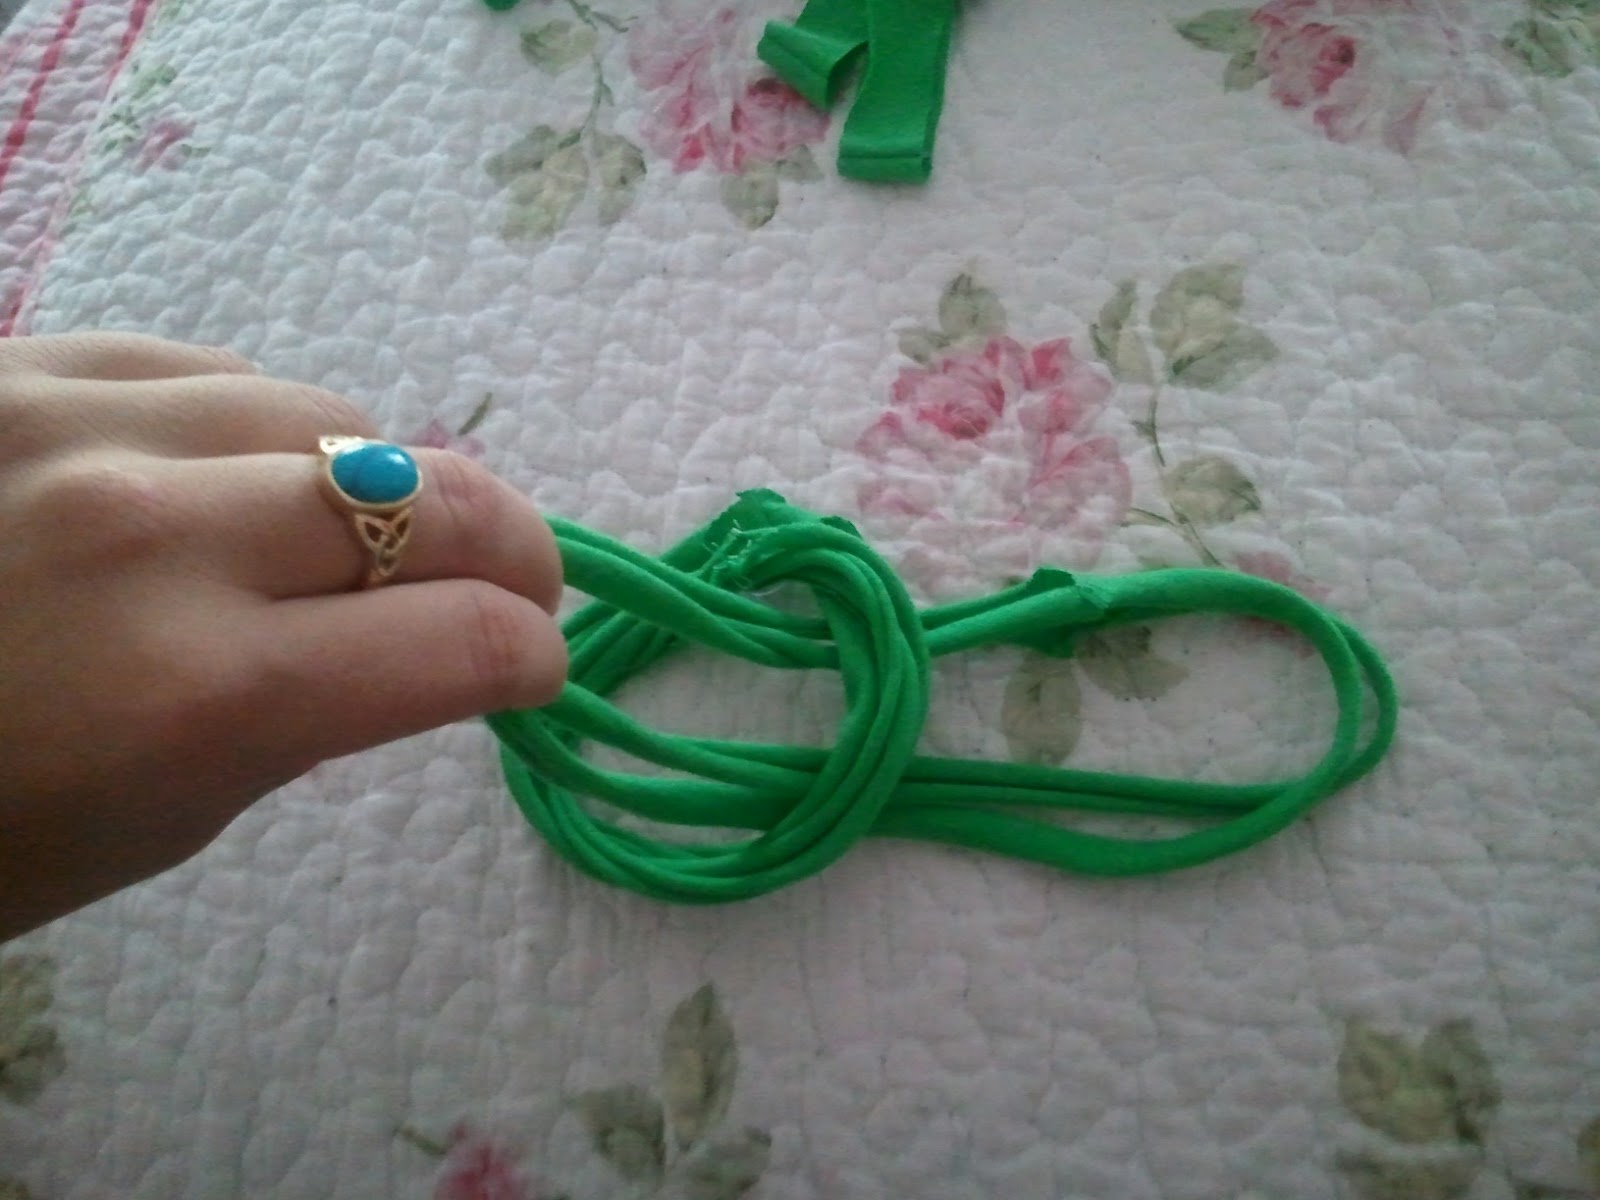

Do this last picture with each strip of fabric until you run out

When you reach the end, bring the two ends together, and use excess fabric (cut off the shoulder of the t-shirt or some other part that is just scrap) to tie the pieces together.

Again, mine is pretty short but here is what it looks like!


YAY! It is a really fun and pretty design! And if you want, you can always take it apart again and fix or tweak some parts you think would look better. I want to make a light pink one next time!
Thanks!
T-Shirt Scarf
So, I don't know about you, but I have a ton of old t-shirts lying around my house. Why not cut them up into a cute scarf? Seriously! I stole a shirt from my dad and made an infinity scarf out of it. Here is what I did. :)
Supplies:
*T-shirt you do not want anymore
*Scissors
~~~~~~~~~~~
Long Infinity Scarf!
First I got an old XL shirt and laid it out flat

After doing so, I cut right below the design on the shirt. Also, I cut the hem off of the bottom of the shirt.

With the bottom half of the shirt, I stretched out the material like so:

So you can either wear the scarf like this, or double it over like an infinity scarf.


YAYAYAY!
Thursday, August 2, 2012
Cardboard Name
After moving in, you seem to always accumulate cardboard scraps. Put those scraps to use and make your name and cover it with a gift wrap or pretty paper.
You will need:
*Cardboard
*Scissors/box cutter
*Wrapping paper
*Tape
~~~~~~~~~~~~~~~~~
First sketch the letters of your name the way you want it!
Then use the scissors or box cutter to cut...take your time and don't cut yourself
Cover those letters with the paper and tape it to the back
TADA

ps. I got my paper from the dollar store and it was just scrap paper from another project I did
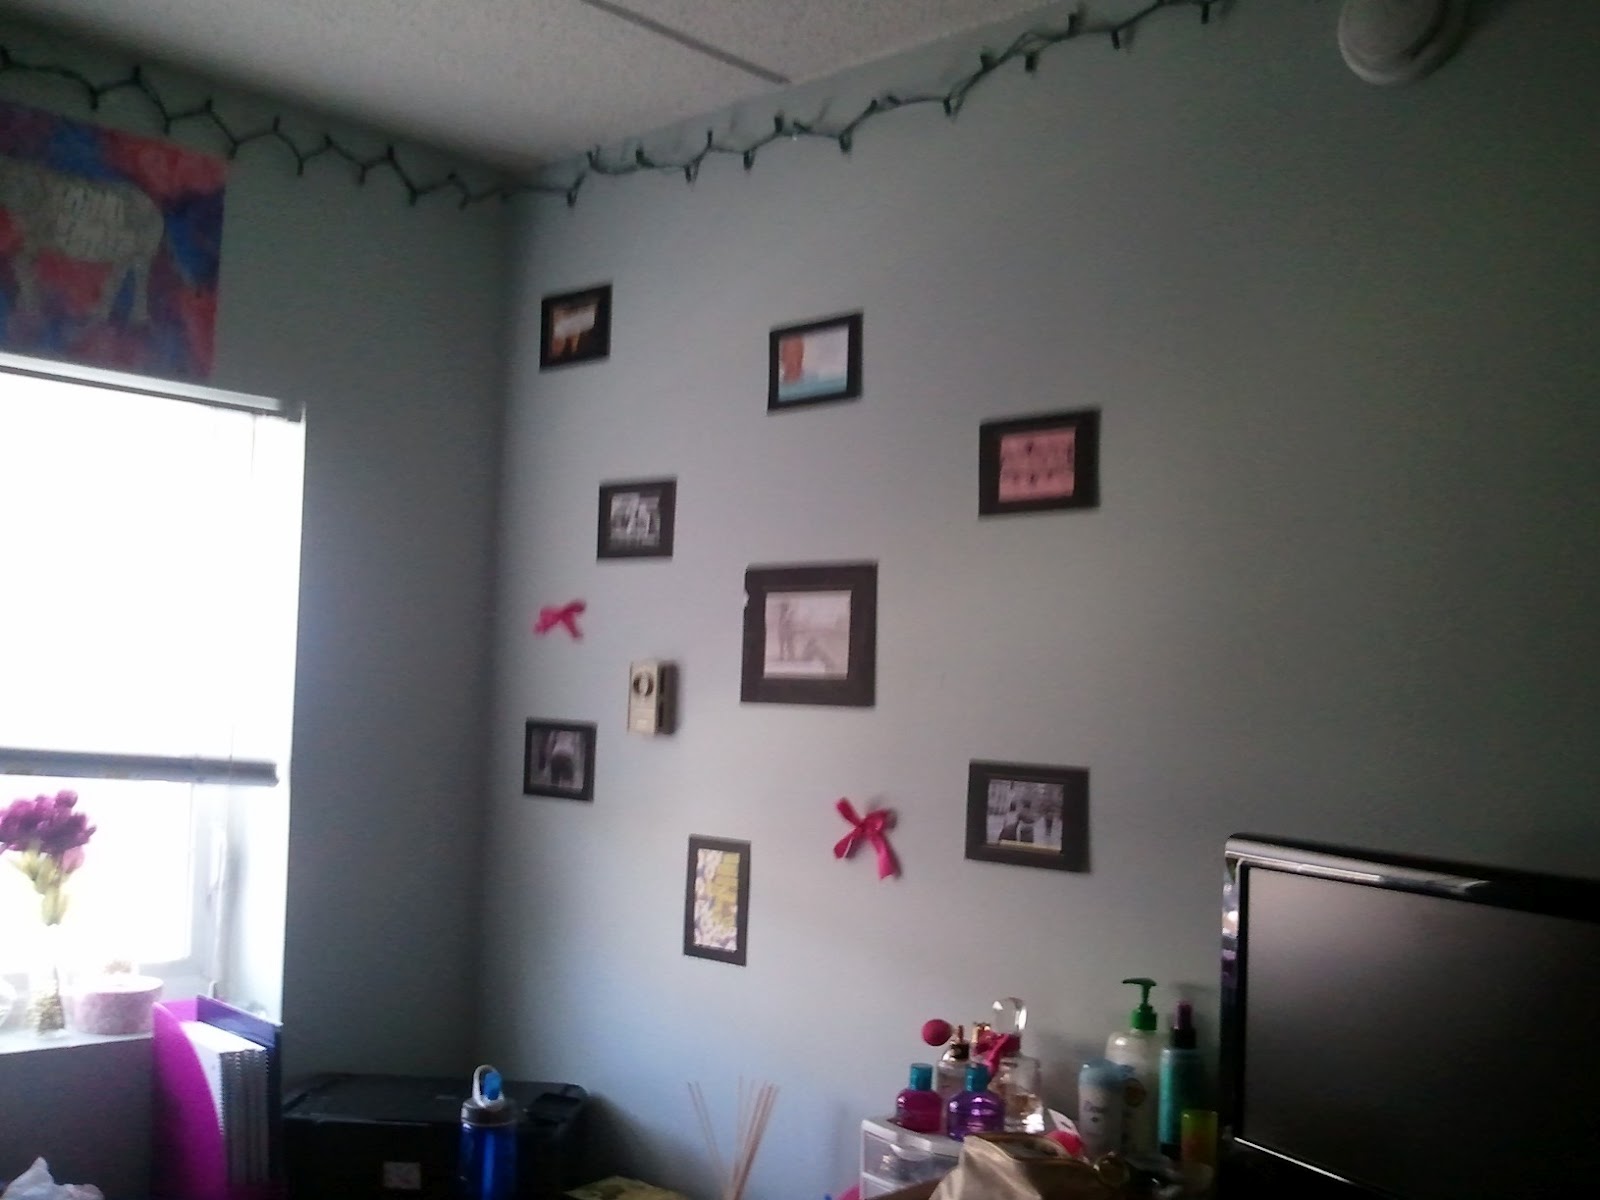
Easy Picture Frames
Alright, regardless of what texture your walls are, this next idea will work no matter what. Add a little bit of extra sophistication or an extra look to pictures on your wall. Go to the dollar store and get picture matted frames like this :

I stuck with the color black because that is all that was sold at that time. The dollar store sells them in packs of 2 or 3 with a variety of sizes. I used a few different sizes to spice it up a little bit. Now you can decorate, add glitter to these matted frames but I kept them simple. I went to www.postsecrets.com, which is a website that shows anonymous secrets people send in on post cards. I also searched google for these, since the website updates itself every week, to get more to choose from. You could use your own pictures but I just found some of my favorite post secret cards and printed them to tape on the back of my frames. I do have a picture of my frames/pictures because I am saving them for my apartment. Keep in mind, THESE ARE SOOOO LIGHT! They weight nothing and will stay up with tape...aka they can be put anywhere!
Here are what mine look like, they just aren't on a wall since I am going to reuse them:
Here they are!

Here are some close ups of the ones I chose to use! They make me smile :)


So yea, you can use your own pictures in these quick light-weight frames or anything you want. Get creative and maybe decorate the outer frames with glitter or anything. Get creative
Clothesline Picture Holder
I do not have my picture of this from my dorm, but I have found some online and can explain the look that I had for mine. Basically I cut a long string of some hemp, draped it on the wall (taping it up) starting from the upper left corner down to the right, then back down to the left in sort of a "Z" formation. I used clothespins and clothes pinned pictures to the hemp. Again, I do not have a picture of mine but here are some examples.
~~~~~~~~~~~~~~~
This person used a big space, I used only half this space but I did the same idea. Clothespins, pictures, and string.

This is how the design of mine was...disregard this picture, but it shows the set up of how I had mine. I just draped it across like this, and would put pictures every so often. The pictures weren't right next to each other; basically every heart was a picture of mine.

This was seriously the cutest picture holder that anyone can make in about 1 minute. You can make it big or small, depending on what wall space you want to use. I also cut out little flowers from pink paper and put them in and around this display. Another cute idea, use colored clothespins or floral ones; it adds a cute extra touch!
ARG!
The best dorm crafts ever were from last years dorm room and of course, I HAVE NO PICTURES OF IT! Bare with me as I try and find something :( ruined my whole day
Meow Shorts
Meow!
Here is a fun trendy twist on shorts. The shorts I used were my moms semi-highwaisted denim shorts that I cut and cuffed, but that's a different story. So here are the shorts I made a few days ago. I bought fabric from Hobby Lobby for real cheap, spending no more than 4$. I did a rough cut of the fabric to fit the back pockets of my shorts and used fabric glue to glue them on. I did a really quick bad job honestly of cutting and glueing but I do not really mind. It works for me.
Supplies used:
*Half a yard of fabric
*Denim Shorts
*Scissors
*Fabric Glue
~~~~~~~~~~~~~~~~~~~

YAY!

With extra fabric, a sewed, by hand, a small little pillow!

Wall Art
Don't mind my roommate sewing...
Anyways, got any magazines laying around your house that you don't care about anymore? Rip out pages with fun colors and textures. Cut out words and put up a cute phrase or saying. I saw this idea on Tumblr and picked a phrase that was good to live off of. Badddabing, a great wall spacer killer that looks good too!


My First Dorm Room
This is my first dorm room! Freshman year, miss it! Well as you can tell, I had a pretty nice dorm room for a freshman. My roommate's side is not even in the picture...big room. Well What I did here that I liked, is that I printed out a bunch of pictures of my friends from that summer, and did a boarder around my bed of the pictures side by side. I bought one of those wall stickers, which is a great buy!!!! If you have smooth walls not cinderblock walls (I do not think those stickers work well on cinderblock walls) it is a great buy and you have many options to choose from. Even when you move out, if you put the sticker on parchment paper, you can re-use it. Anyways my sticker was of a tree with birds. Then I bought sparrow birds to put around the tree with the other bird stickers. I love posters, great space taker-uper and it looks cute. Make your dorm room fun your freshman year, you'll need that comfort. Do not overcrowd the walls or it will make your room small and seem cluttered. I just wanted to share this picture to give some more ideas to go off of.

Crayon Poster
This was really fun to make! My friend Tiff wanted to make this craft and I asked to help because it looked really fun. You have probably seen this before but I thought I would share it!
Supplies:
*Cardboard or poster board
*Box of crayons
*Glue
*Hair Dryers!
~~~~~~~~~~~~~~~~
Glue the crayons in whatever order or colors you want. Usually the rainbow looks pretty good. Make sure they are side by side with the tip down. You can take off the wrappers or leave them on. In this case, my friend Tiff wanted to take them off.

Plug in your hair dryer and start heating up those crayons. You want them to melt! (ps. hope you like Tiff's pj pants)

More than one dryer was better because it was quicker.

TADA! Thanks for letting me help TIFF!<3

Subscribe to:
Posts (Atom)